Sunday, March 31, 2019

Uco Candle Lantern Ikea Utensil Holder Shelter Heater

I can't believe it has been just over a year since my last post. Where has the year gone?  I can promise you it was all fun and well done.

Heating inside the Luxe Minipeak II Pyramid tent


As you have read in other posts here, I am very fond of the Uco Candle Lantern.

The little candle lantern has earned it's space as "a must carry" item in my backpack for all overnight adventures.


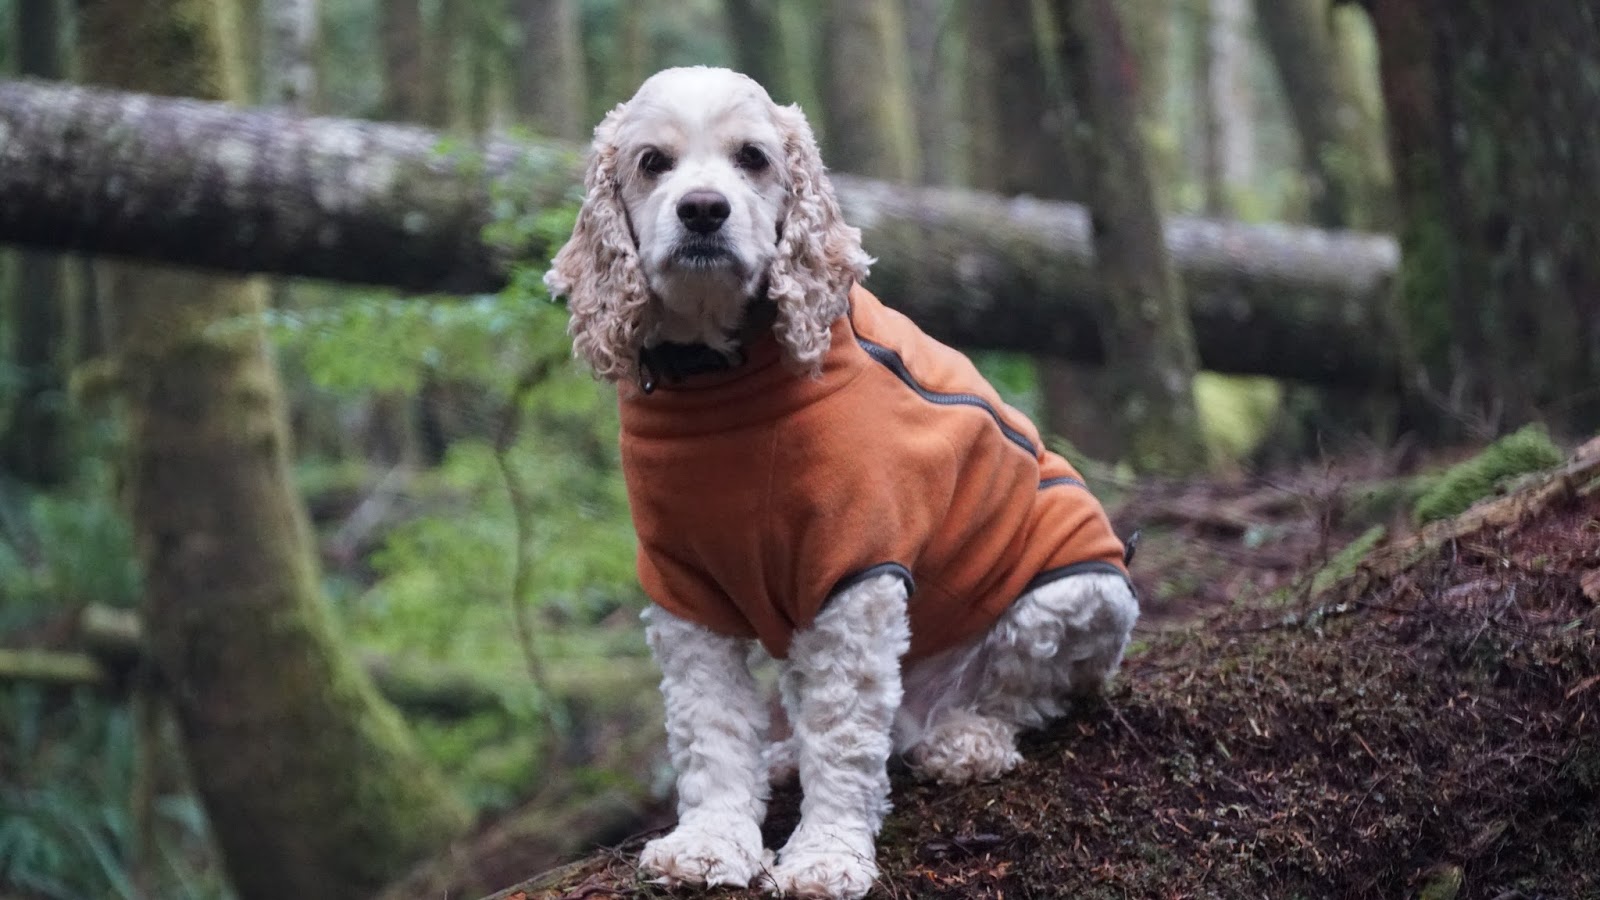
The Uco Candle Lantern is a favorite of Cooper too.


Cold weather shelter heating options have been on my mind for many past seasons, including this one.  This past season brought another idea, and successful new option.    


Backpacking to and sheltering at a snowy site with warmth and comfort when rested is always thrilling.


This heater powered by 2 Uco Candle Lanterns put out 3,800 BTUs to cut condensation and provide warmth inside a closed 1-2 person tarp, tent or poncho for up to 9 hours.

Add an additional Uco Candle Lantern for more light and boost heat inside the shelter to 5,700 BTUs. (Each Uco candle produces 1,900 BTUs).


You can see the "build" and preview of the Uco Candle Lantern Ikea Utensil Holder Shelter Heater with Cooper and me on the Wawhiker Backpacking YouTube channel. Stay tuned for an overnight.

Sunday, March 18, 2018

Hot Tent Hot Shelters with the BioLite CookStove - As a Winter Camping Option

I've been experimenting these past few months with my idea to use a BioLite Cookstove as a heat source for a Hot Tent / Hot Shelter cold, wet camping option.  

I'm happy to report it works.


Using the BioLite Cookstove and a titanium 3 inch stove pipe, burning wood stove pellets, the combination creates an easy to set-up, inside the shelter, clean and efficient heat source.


Whenever Cooper and I go out, during wet, cold and snowy hikes, we still like to stop, make camp, cook a meal and enjoy our destination.


Sometimes a rain tarp and alcohol burner doesn't allow us to stay long.  A  more closed-in and warm shelter would.


I presented the idea on my Wawhiker Backpacking YouTube channel, and received many positive comments, more ideas and suggestions.  Thank you to my viewers and subscribers for your comments, ideas and suggestions.


The feed port on the stove pipe and the ability to heat water... 


...(and an easier option using a stove pipe tee and galvanized 3 inch stove pipe, available at most local-based hardware stores) were all viewer ideas.


Wood stove pellets verses gathered campsite wood has been a YouTube viewer observation.  Here is my thought.  
We hike in forests just outside the largest rain forests in the northern hemisphere.  Our forests get a lot of rain.  Dead standing trees (including their branches) that could be used for fires are wet.  Searching, finding and processing dry wood takes more time and energy than I care to spend at most day backpacking sites.  

I can leave the ax or saw or larger camp knife in the gear closet and bring along a bag of wood pellets instead.  Wood pellets in the BioLite CookStove burn hot, consistent and clean (and the burn is easily controlled).  As mentioned earlier, the set-up for the stove, pipe and shelter is easy and quick.  I can create a warm shelter in no time.


The hot tent, hot shelters with the BioLite CookStove is still a work in progress as I mentioned in my most recent YT video in the series.

See the Hot Tent Hot Shelters with the BioLite CookStove playlist on Wawhiker Backpacking on my YouTube channel).  

I will continue to post updates and my progress here.  


Saturday, June 24, 2017

Passing of the Torch

My original REI Candle Lantern has served me well for so many years.  It still has the original glass globe, though a bit clouded with soot and wax.

I felt it was time to retire the keepsake so I could one day pass it down to a family camper. 
Uco released a special edition of their original candle lantern a few years ago.  I purchased two directly from them.  I gave one to my son.  The other lantern I will use on my overnight backpacking adventures.

Some day soon I hope to show my grandsons the wonder of that reassuring little flame flickering in the dark at our camp site, burning all night long, undaunted by rain, wind and cold.  
You can see the first burn of the new special edition Uco Candle Lantern on my latest Wawhiker Backpacking YouTube video.

Cooper and I had to wait a bit before lighting the Uco candle.  We kept the campsite dark for as long as possible to watch the lingering effects of the near Summer Solstice - the backpacking adventure I specifically wanted to experience in the mountains.  It was wonderful.

Sunday, May 21, 2017

Vargo Titanium Hexagon WOOD GAS Stove by Wawhiker

There was a time not too long ago when wood gas stoves for backpacking were simply known as the Bush Buddy.  It was a marvel, the best and original.  Now there are every knock-off variations available on any web store street corner.  The same could be said for folding backpacking wood stoves - the Vargo Titanium Hexagon Wood Stove has always been my favorite.  I still carry it every time out. 


The benefits of the wood gas stove, especially for backpacking, allows you to get the most efficient fuel burn for what you can carry and gather. Longer burn times, less smoke and a hotter flame make wood gas a clear winner over non-gas wood stoves.


One disadvantage - most wood gas wood burning stoves tend to be a bit too bulky. 

Folding backpacking wood stoves not so.

Ideally, why not a folding backpacking wood gas stove?  I thought I could come close.  Why not visit my old favorite Vargo wood stove and make it work without re-inventing the wheel?

I did.  First time out, on the first test burn.  It was a success!  My past builds and experience with wood gas and wood burning stoves helped.

I simply used a food can insert with the Vargo. A few "specifically-sized" and "specially-placed" holes drilled into the can did the trick.

For the first test burn I used a very stable wood fuel, wood stove pellets.

You can see the test burn and how to build the Vargo Titanium Hexagon WOOD GAS Stove by Wawhiker on my YouTube channel

With the Vargo wood stove being fold-able and the wood gas food can insert able to fit into my Snow Peak Solo cook kit, I gain a wood gas stove and lose no space in what I carry.

I'm thinking I might just bring along some wood pellets too - a half cup burns for 20 minutes.  I need to burn up the 20 pound bag of wood pellets stored in my garage some way. 

Tuesday, February 28, 2017

Hilleberg Akto in the Snow

This season I set out to search for a solo 4 season shelter to add to my winter camping gear.


Why Hilleberg?  Swedish and Local

I really enjoy a fair share of Swedish outdoor gear.  When tools, knives, cooksets and clothing come to mind Swedish backpacking gear has the long standing reputation for being some of the best designed and most well made.

I've considered Hilleberg tents in the past.  Watching several of their tents being shown by Bruce on his YouTube channel Nature Calls Backpacking reminded me of Hilleberg again. Thanks Bruce!

I visited Hilleberg's website and saw that Hilleberg has a USA location, with a 425 area code. That's local!?  Their US offices are located in Redmond, Washington.

Why Akto?

There are many reviews for the Akto in print (and, all over the world on YouTube videos).  I've read almost every review on the Hilleberg Akto - nearly all were positive.

I was finally sold on the Akto by YouTube channel Ascent41 and its content creator Si.  The  Welsh hills and mountains where he backpacks are absolutely gorgeous. And seeing his Akto from inside and outside - cooking in the vestibule, laying under the yellow inner tent with plenty of room for gear and adventurer - got me hooked on the Akto.  Si - thank you!

You can watch my first pitch of the Hilleberg Akto on Wawhiker Backpacking.

I defer a review of the Hilleberg Akto.  As with most of my backpacking gear - I leave reviews to others.  But I will say, I'm very pleased with the Hilleberg Akto and look forward to many years backpacking with it.

Saturday, October 1, 2016

Hammock Camping 5 Years With My Dog Cooper and a Campfire Overnight

A special Wawhiker Backpacking hammock camping overnight with my dog Cooper, marking a 5 year milestone at the original hammock campsite.


Processed a good load of firewood with the Bob Dustrude 24 inch Quick Buck Saw and Gränsfors Bruk Small Forest Axe for a rare Wawhiker Backpacking campfire.


This was a second hammock camping overnight with the Warbonnet Wooki full-length underquilt for my Warbonnet Blackbird hammock


Video / Photo Gear
Sony 4K FDR-AX33 Handycam
Sony Alpha A6300 Camera
Sony 18-105mm F4 G OSS Lens
Sony HDR AS20 Action Cam (CooperCam)

See it all on our YouTube channel Wawhiker Backpacking.

Sunday, June 12, 2016

Sounds Good - Rode Microphones

Always looking to produce higher quality YouTube videos on Wawhiker's Backpacking Channel, we are working to better the overall sound of the videos. A way to improve audio quality is through the use of external microphones.


Rode Microphones offer a line of alternatives to the onboard mics found on cameras and camcorders. We picked-up two of their's - the Rode Stereo VideoMic Pro and the Rode VideoMic with Rycote Lyre shock mounting.

To reduce wind noise, both microphones were outfitted with the available (I don't like these names) the Rode Dead Cat and Dead Kitten artificial fur windshields.


So far, we like what we are hearing, and you will too, very soon on Wawhiker Backpacking.

Here are the specs and links for each microphone.


Rode Stereo VideoMic Pro

http://en.rode.com/microphones/stereovideomicpro

Specs include:
Broadcast recording quality on-camera microphone
Matched pair 1/2” condenser capsules in XY stereo configuration
Ultra lightweight, compact form factor
On mic power and EQ controls
Two step High Pass Filter (flat, 75Hz)
Three position level control (-10dB, 0, +20dB)
9V battery powered - over 100 hours use (alkaline)
Integrated shock mounting
Integrated foam windscreen
3.5mm stereo mini-jack output
Billeted metal camera shoe mount with 3/8” thread for easy boompole mounting


Rode VideoMic with Rycote Lyre shock mounting
http://en.rode.com/microphones/videomic

Specs include:
Studio recording quality
Condenser microphone
Super-cardioid polar pattern
9V battery power
Integrated Rycote Lyre shock mounting
Two step High Pass Filter (Flat/80Hz)
Three step PAD (0, -10, -20dB)
Rugged reinforced ABS construction
Windshield included
3.5mm mini-jack output
Integrated cold-shoe mount (3/8” thread)

Friday, March 11, 2016

An Update and Moving Forward

I wanted to post an update.  It has been a while.  Photos from two recent camera purchases will make their way here as a featured showcase.  The latest videos (in 4K resolution) from my YouTube Channel will give you a sense of what Cooper and I have been up to.  Thanks for stopping by.


Rucksacking and Foil Stew

We took full advantage of a sun-break to get "out there" to have a camp fired stew along a rain-swollen river. Brought along the L.L.Bean Continental Rucksack, wearing Fjallraven outerwear - Fjallraven Vidda Pro Trouser, Fjallraven Forest Fleece Jacket, Fjallraven Byron Hat and enjoying all the moments with my Backpacking Cocker Spaniel Cooper.


SnowTrekker Minimalist Expedition Hot Tent Full On First Overnight

A snowshoe and toboggan pull to a snowy riverside setting allowed us to pitch the SnowTrekker Minimalist Expedition Hot Tent for a Full On First Overnight.


L.L. Bean Continental Rucksack with Bob Dustrude's Quick Buck Saw
and Gransfors Bruk Small Forest Axe
Wawhiker Rucksacking

Got out to the Mount Baker Snoqualmie National Forest for some bushwhacking and campfire making with all my gear loaded in a rucksack. This is the first in a series of "Rucksacking", with more to follow on Wawhiker Backpacking. This video also includes a bonus - make your own DIY Bottle Holder (Fish Spreader) made from an inexpensive and very common / easy to find welding flint striker.


SnowTrekker Minimalist Expedition Hot Tent Winter Snow Camping - First Test Overnight

Cooper and I did a first pitch, first burn, hot tent winter snow camping overnight with the Snowtrekker Minimalist Expedition Hot Tent and Seek Outside Larger Titanium Wood Stove.

Monday, May 26, 2014

All Titanium Backpacking Grill and Stove Cook Kit


It's another backpacking gear post - featuring a cook kit that could cover all my trail cooking needs.

It's not the lightest cook kit on the trail, but it's all titanium, and I know it will do steak and potatoes with all the sides.  I'll show you the steak and potatoes in a bit.

 The components of this cook kit are as follows;

- Snow Peak Titanium Mini Solo Cookset
- Snow Peak 450 Titanium Mug
- Four Dog Stoves Titanium Wind Screen for the Snow Peak Trek 700
- Lawson Outdoor Equipment Titanium Tent Stakes


Here is the whole kit and kaboodle weighing in at 15 and 3/4 ounces (448 grams).


Using the Evernew Titanium Alcohol Stove, Four Dog Stoves Titanium Wind Screen and Lawson Outdoor Equipment Titanium Tent Stakes, I boiled two cups of water in 5 minutes 44 seconds, with one ounce of Heet denatured alcohol. (Total burn time was 6 minutes and 40 seconds - indoors - garage).


Sometime this backpacking season, I'll use the Four Dog Stoves Wind Screen and Vargo Titanium Hexagon Wood Stove as a grill.


As stated earlier, the Vargo Titanium Hexagon Wood Stove will grill steak...


...you can see for yourself on this Wawhiker Backpacking YouTube video.


Sunday, May 4, 2014

I Made Two Pot Stands for the Trangia Backpacking Alcohol Stove

Sitting inside watching the rain, backpacking plans foiled, all geared-up and no place to go, I can still make the best of a rainy situation.

Some of my best gear improvement ideas have come to me on restless rainy days.    


The Trangia alcohol stove is hard to beat as a favorite backpacking stove. The Trangia is one of my favorites too, with one minor drawback, no pot stand. There are many nice pot stands made for the Trangia. I've never seen a pot stand I really liked, and made do without one, until now. Restless times call for rainy desperate do-it-yourself gear improvements.  Here are my two DIY pot stands for the Trangia.


Using a left-over section from a tent pole project, (see the Wawhiker YouTube video "REI Tent Poles for the Warbonnet SuperFly Tarp"), I made three 5 1/2 inch aluminum ground stakes. The stakes are stuck into the ground equally around the Trangia stove.  

Three cross members 3 1/2 inches long were cut from a stainless steel rod.  Each end of the rods were bent at 90 degrees.  These cross members form a triangle when placed into top of the ground stakes. The triangle should be 1 1/4 inches high from the jets of the Trangia alcohol stove. 
   
The flower pot imitated dry ground on this rainy day.


A wind screen is needed for this setup.  I found ground stake stability was an issue.

The second pot stand for the Trangia alcohol stove is the one I really like. But all of the credit for the construction of it has to go to Four Dog Stoves. It's based on their titanium wind screen for a Snow Peak 700 cook pot. I've had the wind screen for almost a year, (see the Wawhiker YouTube video "Zpacks Blast Slim Cuben Hybrid Backpack Gear Carry for a Hammock Overnight" for the wind screen first use), and thought of modding it for a pot stand for quite a while.

Using the Four Dog Stoves titanium wood screen as a pot stand meant I would have to drill holes through the titanium wall.  I was always hesitant because I had heard titanium was very difficult to cut.  After some research online, I discovered using a high speed drill and a good quality bit would make drilling holes through this titanium wind screen an easy task - and it was.

Once this rain lets up we will show you both pot stands on Wawhiker's YouTube Channel during our next backpacking adventure.